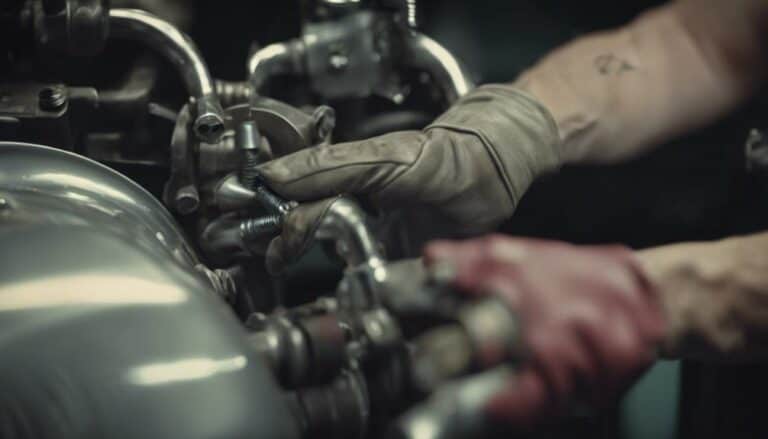
Wondering how to remove those Harley Davidson mufflers that have been giving you trouble?
First, have you considered the intricacies of detaching them and ensuring a smooth removal process?
Well, fret not; we have some professional advice to guide you through the steps with ease.
From loosening the clamps to inspecting for potential damage, this discussion will equip you with the necessary knowledge to tackle this task effectively.
So, are you ready to embark on this muffler removal journey and uncover the secrets to successfully completing the job?
Key Takeaways
- Use proper techniques like heat and lubricant for loosening stuck mufflers.
- Inspect for damage like dents, rust, and cracks before reassembly.
- Securely reattach mufflers, ensuring correct alignment and tight fastenings.
- Check all connections and components for proper reassembly of Harley Davidson mufflers.
Preparing the Motorcycle
Before beginning the removal process, ensure your motorcycle is securely positioned on a stable and level surface. Checking for leaks is crucial before any maintenance task to prevent accidents. Make sure the motorcycle has cooled down to avoid burns from hot components.
Proper storage techniques include keeping the bike on its center stand or paddock stand to provide stability during the muffler removal. It's advisable to gather the necessary tools such as wrenches, WD-40 or lubricant, and Loctite for securing bolts. Additionally, consider wearing protective gloves and eyewear to safeguard yourself from potential injuries while handling the mufflers.
Loosening the Clamps
To effectively remove Harley Davidson mufflers, the initial step involves loosening the clamps securing the mufflers to the header pipe. Using penetrating oil, such as WD-40, can aid in loosening stubborn bolts and clamps. If the mufflers are stuck due to corrosion or rust, applying heat from a heat gun can help expand the metal and make it easier to break the seal.
When dealing with welded knots on the original mufflers, it's crucial to apply pressure to detach them from the exhaust system. Tapping gently with a rubber mallet on the clamps can also help to loosen them without causing damage. It's important to note that different techniques may be required for the left muffler compared to the right side during removal.
Removing the Muffler
Now, proceed to detach the muffler from the header pipe by carefully following these steps to ensure a smooth removal process.
To start, make sure all bolts and clamps securing the muffler to the header pipe are fully removed. After that, apply WD-40 or a similar lubricant to the joints between the muffler and the header pipe. This will help to loosen the muffler and make it easier to separate.
Once the lubricant has had time to work its magic, gently twist and pull the muffler to break it free from the header pipe. If there's resistance, apply some pressure while twisting to aid in the separation. Remember that the removal process for the left muffler may be different from the right side, so pay attention to any specific instructions for each side.
This process is crucial not only for muffler maintenance but also when upgrading your exhaust system. By mastering the art of removing the muffler, you gain the freedom to customize your Harley Davidson to your heart's content.
Inspecting for Damage
Upon thorough inspection of your Harley Davidson mufflers, carefully examine for any visible signs of damage that may impact their performance. Here are essential points to consider:
- Repairing Dents and Rust: Look for any dents or rust spots on the mufflers as these can affect the structural integrity and overall performance of the exhaust system.
- Identifying Exhaust Leaks: Check for any holes or cracks that could lead to exhaust leaks, impacting engine performance and fuel efficiency.
- Rich Running: If you notice discoloration or black soot on the mufflers, it may indicate a rich running condition, which needs to be addressed promptly to avoid engine damage.
- Baffle Wear: Inspect the muffler baffles for signs of wear or deterioration as this can impact sound quality and back pressure, affecting the overall performance of your motorcycle.
- Mounting Point Integrity: Ensure that all muffler mounting points are secure and intact to prevent alignment issues or instability while riding.
Regular inspection and maintenance are crucial to keep your Harley Davidson mufflers in top condition.
Reassembling the Components
Inspecting for any potential issues that may impact the reassembly process, ensure all components are free of damage or defects before beginning to reassemble the Harley Davidson mufflers.
Start by sliding the header pipes back into place on the engine mounting studs, ensuring a snug fit. Properly align the heat shield and reattach it using the clamps and bracket for stability during operation.
Align the mufflers with the header pipes, then tighten the bolts and clamps securely to keep them in place. Make sure the bags are securely reattached using the quick-release tabs for easy access.
To enhance your Harley's performance, consider exploring performance upgrades for the exhaust system. Additionally, you may want to explore different sound options to customize your riding experience.
Double-check all connections and fastenings to guarantee the exhaust system is correctly reassembled and ready for use, providing you with optimal performance and sound options to suit your preferences.
Conclusion
In conclusion, by following these steps, you can easily remove Harley Davidson mufflers to customize your ride. Remember to check for any damage or wear during the process.
With proper maintenance and attention to detail, you can ensure your motorcycle is in top condition for your next adventure. So, grab your tools and get ready to transform your bike with a new look and sound that will turn heads on the road.

